First Paludarium Build: Waterfall vs Simple Drip Wall
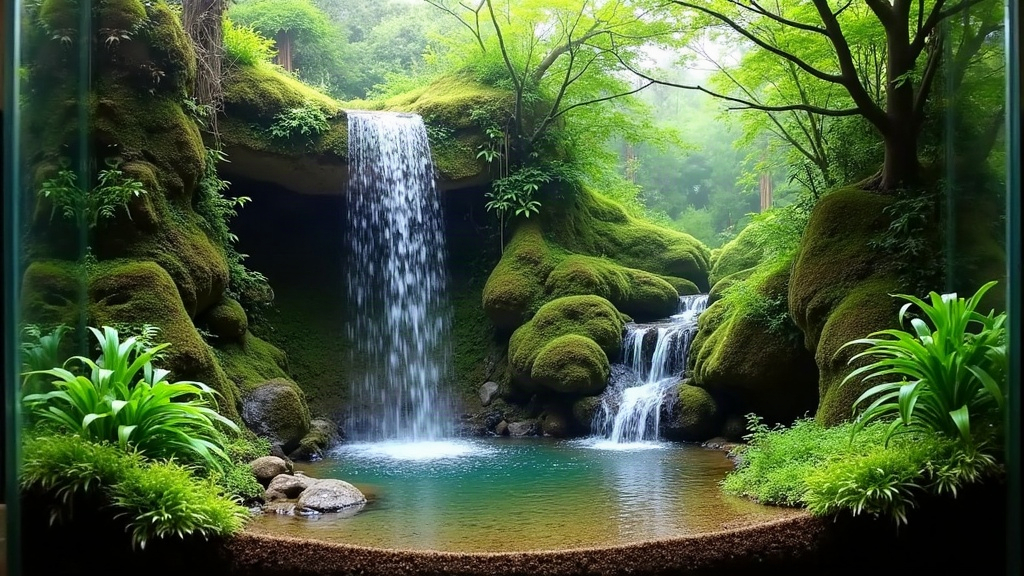
Building your first paludarium means picking a water feature, and really it comes down to two options: a cascading waterfall or a simple drip wall. A waterfall gives you visible, flowing water and a serious humidity boost, but it asks more of you in terms of plumbing, noise control, and upkeep. A drip wall, on the other hand, delivers gentle, quiet moisture through a backing material, with hardware that’s almost embarrassingly simple by comparison. For a first build, go with the drip wall. It’s the safer bet. That said, a waterfall can absolutely be worth the extra hassle if you’re after a true showpiece. Here’s the full breakdown so you can make the call yourself.
What Is a Paludarium Water Feature, Really?
A paludarium blends land and water zones inside one enclosure (the name literally comes from “marsh” + “-arium”), usually housing amphibians, invertebrates, or tropical plants that crave high humidity. The water feature is the engine room: it drives humidity, keeps water circulating, and gives the whole build a focal point. Waterfalls and drip walls both get the job done, just through completely different mechanics.
Waterfall Feature: How It Works
A typical waterfall setup includes:
- A submersible pump sitting in a water reservoir, usually tucked under a false bottom or inside a sump
- Tubing routed up through the background to a spillway or rock ledge
- A textured background (foam, cork bark, or carved epoxy) for the water to cascade over
- A drainage layer (LECA, egg-crate, or a false bottom) that catches runoff and sends it back into circulation
Pros:
- A genuinely dramatic visual centerpiece
- Strong, steady humidity, plus that white-noise trickle sound
- Room below for aquatic or semi-aquatic animals, if you want them
Cons:
- Pump calibration is fiddly. Crank it too high and you’re wiping splash off the glass and light fixtures every day; too low and the flow just dies
- Maintenance adds up fast: pumps clog with debris, mineral scale, and algae over time
- One bad seal and you’ve got a leak on your hands
- Can be noisier than you expect, especially in a quiet bedroom
- Costs more across the board (pump, tubing, background materials, sealant)
Drip Wall: How It Works
A drip wall relies on a slow, controlled trickle released at the top of the background. That water seeps downward through a porous surface, often foam coated in silicone and coconut fiber, or a purpose-built background panel. Water reaches the surface via:
- A small pump with adjustable flow, or just a gravity-fed drip line
- A spray bar or perforated tubing hidden along the top of the background
- Gravity and capillary action pulling the water down through the textured surface, hydrating moss, plants, and substrate before it collects at the bottom and gets recirculated
Pros:
- Plumbing stays simple, often just one line and a basic pump
- Quiet enough for a bedroom or office without anyone noticing
- Much lower risk of splashing or overflow
- Flow rate is easy to dial in with a valve
- Cheaper to build overall
Cons:
- Nowhere near as visually striking. No cascade, no “wow”
- Can look sparse or patchy before moss and plants fill in
- Still needs occasional maintenance so the drip line doesn’t clog
Which One Should Beginners Choose?
If this is your first paludarium build, reliability should beat spectacle every time. A drip wall gets you:
- Fewer points of failure (one pump, one line, no spillway alignment to fuss over)
- Easier troubleshooting. Humidity dipping? Just bump up the drip frequency
- A lower price tag, often $20-40 for a pump and tubing versus $50-100+ for a full waterfall rig
- Much less chance of a catastrophic leak while you’re still getting comfortable with sealants
A waterfall makes a great second build, once you’ve got a handle on:
- Properly sealing backgrounds with aquarium-safe silicone
- Sizing a pump correctly for your tank’s vertical lift (head height) and flow requirements
- Managing excess moisture so the front glass isn’t fogged over all day
Practical Build Tips
- Test before you plant anything. Run the water feature with just background and substrate in place for 48-72 hours. Watch for leaks and note where water tends to pool.
- Use a sump or false bottom. Both feature types need somewhere for water to drain and recirculate. Don’t let it just sit in the substrate.
- Match pump GPH to tank size. For an 18x18x24 inch enclosure, something in the 90-160 GPH range is usually plenty, whichever feature you pick.
- Clean on a monthly schedule. Mineral deposits and biofilm build up fast in warm, humid water. Flush the pump and tubing regularly or you’ll regret it.
- Add a controller. A basic outlet timer lets you run the feature on a cycle, say 10 minutes on, 50 minutes off, which cuts down on noise and wear over time.
Conclusion
For a first paludarium, the drip wall wins on nearly every front: more forgiving, easier on the wallet, and much friendlier to beginners. It delivers the humidity your plants and animals actually need, minus the plumbing headaches a waterfall brings. Once you’ve got sealing technique and pump calibration down, though, a waterfall can turn your next build into a genuine showpiece. Start simple, learn how the mechanics actually behave, then scale up to the cascade when you’re ready.