How to Build a Bioactive Terrarium for a Crested Gecko
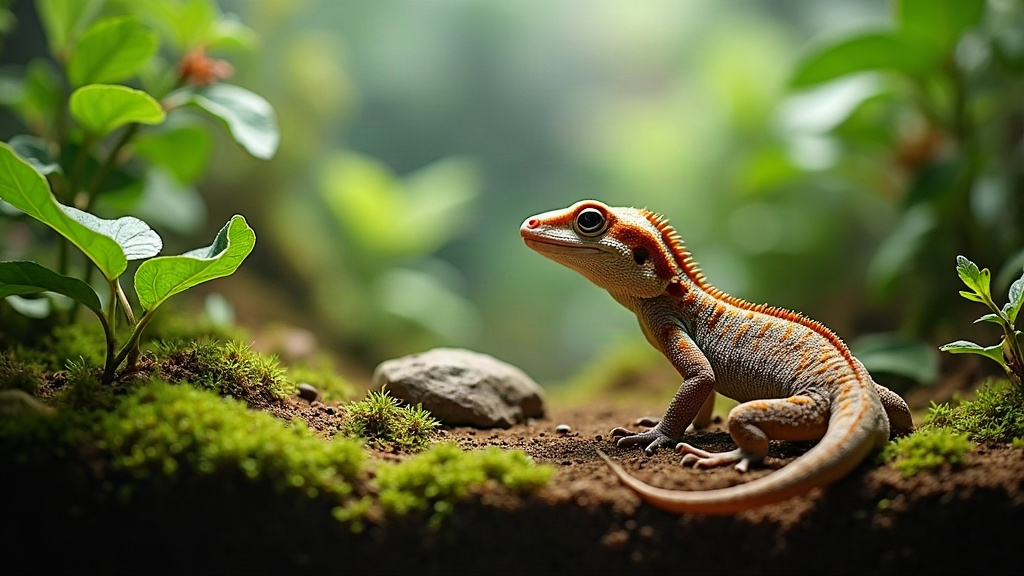
Building a Bioactive Terrarium for Your Crested Gecko
A bioactive terrarium isn’t just a fancy tank with plants in it. It’s a small, working ecosystem: live plants, a crew of tiny waste-munching creatures, and a layered substrate that all team up to break down droppings and leftover food on their own. Less scrubbing for you, a richer, more stimulating home for your gecko. This guide walks through the whole build, start to finish, tank selection to final planting, so even if you’ve never touched a bioactive setup before, you can pull this off.
Why Go Bioactive for a Crested Gecko?
Crested geckos live in the trees, come out at night, and do best in humid, plant-packed environments. Honestly, they’re almost made for bioactive setups. Here’s what you gain:
- Less spot-cleaning (isopods and springtails eat waste and mold before it piles up)
- Steadier humidity thanks to live plants and substrate doing the regulating for you
- Real enrichment climbing, foraging, digging through leaf litter, hiding in nooks
- Noticeably better odor control than paper towel liners or bare-bottom tanks ever manage
Step 1: Choose the Right Enclosure
Adult crested geckos need at least 18x18x24 inches, and a front-opening glass terrarium or PVC enclosure works best. Height matters more than floor space here. These are climbers, not ground-dwellers, so think vertical.
- Front-opening glass doors make day-to-day maintenance a lot less awkward
- Make sure the screen top is secure but still allows airflow
- PVC holds humidity better than glass, but you’ll need solid cross-ventilation to avoid stale air
Step 2: Build the Drainage and Substrate Layers
The substrate isn’t just dirt, it’s a stack of layers, each doing its own job for moisture and microfauna:
- Drainage layer (1-2 inches): LECA (expanded clay pebbles) or lava rock, there to pull excess water away from the soil above it.
- Barrier layer: A sheet of fiberglass window screen or fine mesh keeps soil from washing down and clogging the drainage below.
- Bioactive substrate mix (3-4 inches): Coco fiber, organic topsoil (check the label, zero pesticides or fertilizers), sphagnum moss, and orchid bark, mixed together. This blend holds humidity well while still letting roots and microfauna move through it freely.
- Leaf litter top layer: Dried oak or magnolia leaves scattered on top. Isopods and springtails eat and hide in them, and honestly, it just looks right.
Step 3: Add the Cleanup Crew
This is the part that actually makes a bioactive tank “bioactive.” Without it, you’ve just got dirt and plants.
- Springtails (Collembola): Keep mold and fungus in check, completely harmless to your gecko
- Isopods (dwarf white, powder orange, take your pick): Chew through waste and decaying plant matter
Drop the cleanup crew in 1-2 weeks before the gecko moves in. That gives the colony time to settle and start working through any die-off from the fresh plants before there’s a gecko around to disturb things.
Step 4: Choose Gecko-Safe Live Plants
Look for plants that handle high humidity, tolerate low-to-moderate light, and won’t poison your gecko if nibbled:
- Pothos (Epipremnum aureum), tough, grows fast, perfect for climbing vines
- Bromeliads, their central cups double as tiny drinking wells and hiding spots
- Pilea varieties, good low groundcover
- Snake plant (Sansevieria), barely needs attention, works as an accent
- Moss (java moss, sheet moss), keeps the substrate surface from drying out
Steer clear of anything treated with fertilizer or pesticide residue, and skip plants with toxic sap, some philodendrons fall into this category.
Step 5: Set Up Climbing Structures and Hides
Crested geckos barely touch the ground. Give them vertical space and they’ll use every inch of it.
- Cork bark rounds and flats, good for both climbing and hiding
- Manzanita or grapevine branches, angled diagonally rather than straight up
- Real or artificial vines to stretch out the usable climbing area
- At least 2-3 secure hides positioned at different heights, not all clustered near the floor
Step 6: Lighting, Heating, and Humidity
- UVB lighting: A low-strength bulb (2-5%) helps with calcium metabolism. Yes, even nocturnal geckos benefit from it.
- Temperature: Keep it between 72-78°F (22-26°C). Don’t let it creep past 82°F, that’s where things turn dangerous, even fatal.
- Humidity: Aim for 50-80%. Daily misting works, but an automated misting or fogging system takes the guesswork out and keeps the plants happy too.
- A digital hygrometer and thermometer aren’t optional extras. Get them, use them, check them regularly.
Step 7: Cycle the Tank Before Adding Your Gecko
Let the finished setup run 2-4 weeks before your gecko sets foot (or toe pad) in it. Plants need time to root, the cleanup crew needs time to establish, and microbial activity needs to settle down. Skip this and you risk ammonia spikes or sudden mold blooms, neither of which your gecko wants to deal with.
Common Mistakes to Avoid
- Skipping the drainage layer, which leads to waterlogged substrate and rotting roots
- Using garden soil that’s been treated with pesticides or fertilizers
- Adding the gecko too soon, before the cleanup crew has had a chance to establish
- Poor ventilation, which traps stagnant, overly humid air and invites mold
Conclusion
Done right, a bioactive terrarium turns crested gecko care from an endless cleaning chore into something closer to tending a tiny garden that happens to include a gecko. Layer the substrate properly, get the cleanup crew in early, pick plants that won’t harm your pet, and let the whole thing cycle before move-in day. Do that, and you end up with a setup that’s genuinely good for your gecko, and honestly, a lot less work for you in the long run.