How to Build a Closed Terrarium for Isopods and Springtails
Why Build a Closed Terrarium with a Clean-Up Crew?
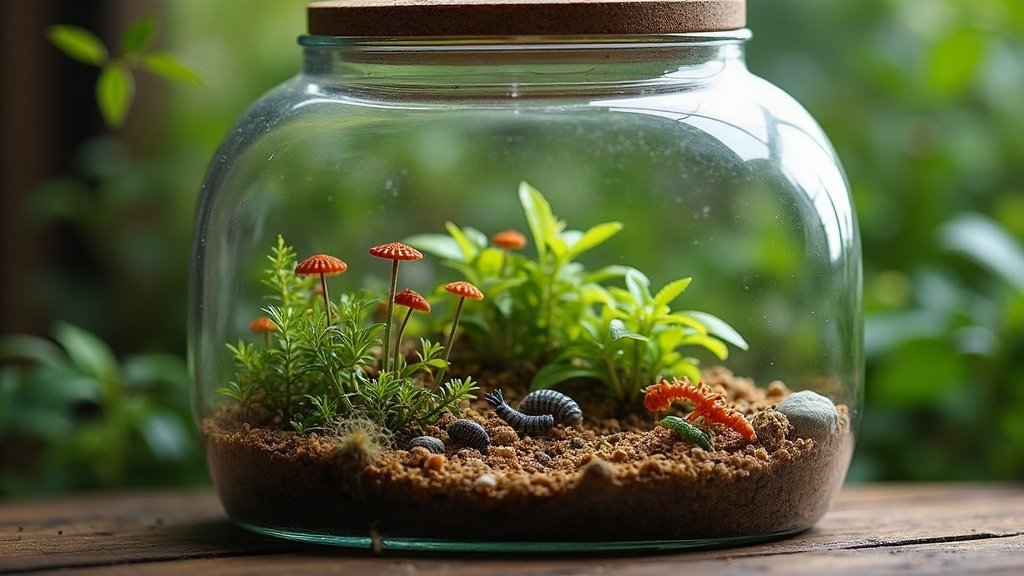
A closed terrarium is basically a sealed glass world that recycles its own water through condensation and evaporation. It’s already a striking thing to look at on a shelf, but it only becomes truly self-sustaining once you drop in a clean-up crew of isopods and springtails. These little invertebrates munch through decaying leaves, mold, and dead plant matter, then hand those nutrients right back to the soil. Below is a practical walkthrough for building a closed terrarium for isopods and springtails that can stay healthy for months, sometimes years, without you fussing over it constantly.
Materials You’ll Need
Get everything laid out before you start. That way the plants and animals go in fast and don’t sit around stressed:
- A clear glass jar, cloche, or terrarium vessel with a tight-fitting lid
- Drainage material: LECA clay balls or small pea gravel
- Fine mesh or fiberglass window screen (this acts as your drainage barrier)
- Activated horticultural charcoal
- Substrate: coco coir, sphagnum moss, orchid bark, and leaf litter
- Hardscape: small stones, cork bark, or driftwood
- Small tropical plants: fittonia, moss, ferns, or peperomia
- Distilled or dechlorinated water in a spray bottle
- Springtails and isopods, ideally from a reliable breeder or pet store
Step 1: Build the Drainage Layer
Start with a 2 to 3 cm layer of LECA or pea gravel at the bottom of the vessel. This is where excess water pools, so roots aren’t sitting in a swamp and rotting away. Once that’s in, cut a circle of fine mesh to fit the container and lay it on top of the gravel. It keeps the substrate from sifting down into the drainage layer while still letting water pass through freely.
Step 2: Add the Bioactive Substrate
Dust a thin layer of activated charcoal over the mesh. It absorbs odors and helps filter the water as it cycles through the system, which matters a lot in a sealed jar where air barely moves.
After that, build up a 5 to 8 cm layer of substrate. A mix that works well:
- 40% coco coir (holds moisture)
- 30% sphagnum moss (keeps humidity up)
- 20% orchid bark (adds aeration)
- 10% crushed leaf litter (food source and hiding spots)
Dampen the substrate until it feels like a wrung-out sponge, moist but not soggy. In a sealed system it’s much easier to mist in more water later than to fix an overly wet setup, so err on the drier side at the start.
Step 3: Add Hardscape and Plants
Arrange cork bark, stones, or driftwood to give the crew places to hide and add some visual interest. Isopods are nocturnal and want shade during the day; leaning a flat piece of cork bark against the glass gives them cover and gives you a front-row seat to watch them at night.
Plant a handful of small, humidity-loving species. Fittonia, moss, and ferns do especially well in the near-100% humidity of a closed jar. Leave patches of bare substrate exposed too, since springtails and isopods need open soil and leaf litter to actually get to work.
Step 4: Introduce the Clean-Up Crew
Add springtails first. Tropical white springtails (Folsomia candida) are the easiest species to start with and multiply fast in humid conditions. They’ll go after mold and fungus, which almost always shows up in the first two weeks while the system is still finding its balance.
For isopods, stick to species that handle high humidity and enclosed spaces well:
- Dwarf white isopods (Trichorhina tomentosa), tiny and unobtrusive, breed quickly, a great fit for smaller jars
- Armadillidium vulgare, the classic roly-poly, tough and easy to spot
- Porcellio scaber, bigger, more active, and a strong waste processor
Start modest, maybe 10 to 20 isopods plus a generous pinch of springtails. The population sorts itself out naturally once it hits the container’s carrying capacity.
Step 5: Seal, Light, and Place
Once everything is arranged, mist the glass walls lightly to kick off the water cycle, then close the lid. Set the terrarium somewhere with bright, indirect light. Direct sun is a hard no here; it turns a sealed jar into an oven in no time and can wipe out everything inside within an hour.
If the glass is coated in heavy condensation nonstop, crack the lid open for a few hours to vent some moisture. A healthy closed terrarium usually shows a light fog in the morning that clears up by midday.
Ongoing Care and Common Problems
A well-built closed terrarium asks for surprisingly little from you:
- Mold bloom in the first few weeks, totally normal, the springtails will clean it up within days
- Too much condensation, just crack the lid open for a bit to bring humidity down
- Yellowing or rotting plant leaves, trim these off right away so they don’t turn into a bigger rot problem
- Feeding, drop in a tiny pinch of dried leaf litter, fish flakes, or a sliver of vegetable now and then; pull out anything uneaten after 24 hours
- Ventilation, “closed” doesn’t mean sealed forever. A quick weekly air exchange is fine, and honestly often helps
Conclusion
Building a closed terrarium for isopods and springtails is one of those rare hobby projects that gives back way more than it demands. Get the layers right, keep the moisture balanced, and let the clean-up crew take it from there. Give it a few weeks and you’ll have a tiny, self-sustaining world that hums along with almost no input from you, and a genuinely fascinating close-up view of how natural cycles actually work.